Custom Liquor Cabinet (Pt 2)
Custom Liquor Cabinet (Pt 2)
It's nearly finished, and ahead of schedule!
I finally got a day to finish off 90% of the work for the liquor cabinet.
Because of the ADHDiY Fail, I had to start over with a new 4'x8' sheet of plywood. I went with Maple this time instead of pine, and I feel that the finished product came out much better.
After cutting the major pieces:
- 2@ 48" x 15.5"
- 1@ 48" x 30"
- 2@ 29" x 15.5"
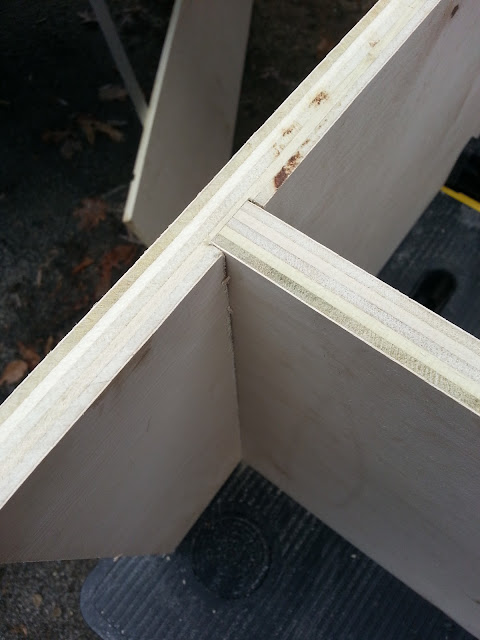
I set about to routing the top and bottom dado (groove). That is where the top and bottom of the cabinet box will rest. The grooves are 1/4" deep by 3/4" wide, and run the length of the boards.
I had to build a new router jig for this, since the original jig was not long enough to cover the board. Since the jig was only going to be used for this groove, I ran the 3/4" bit through the guide. My work table was slightly smaller than my board, so I had to clamp a cripple piece to the jig and board, then clamp the board to the work table.
The bottom of the dado was set 4" from the bottom of the board. Since this is a liquor cabinet, and must hold heavy glass bottles with liquid, the grooves cut provide extra strength.
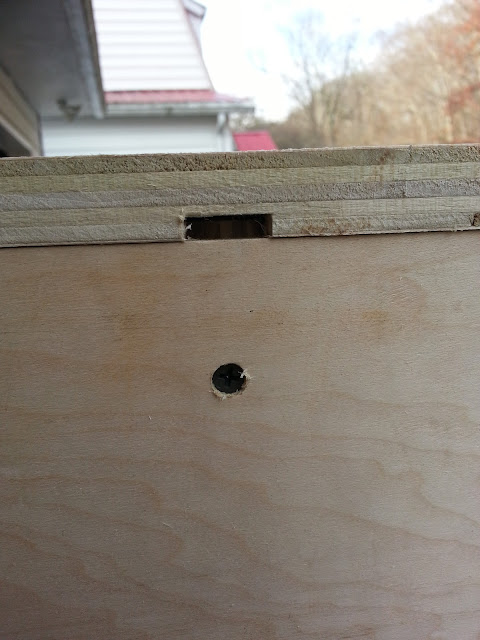
I drilled pilot holes into the boards, along with counter-sinks, to hide the screws after assembly.

I clamped the board to the work table and set about screwing the joint together.
The same was done on the other side, and volia! A box is born!
Installation of the back of the board was just a simple, and a groove was cut into the lower part to receive the bottom shelf.
After several pilot holes, and a handful of screws, the back was put on.
The boards that made up the doors were sanded down slightly to take the major roughness, but leave the indentations of the mill. I left some of the fungus staining on the surface, with permission from the (soon to be) owner.
The board below required trimming on both sides to make it fit, as there were chainsaw marks that occurred during milling. While using the table saw would have been effective, I simply clamped down a guide and ran my circular saw. The edges were sanded down.
Final assembly is pending receipt of the hardware: hinges and clasp. I am thinking of flipping the boards, so that the knot hole is facing the top of the box, and not the bottom.


Comments
Post a Comment